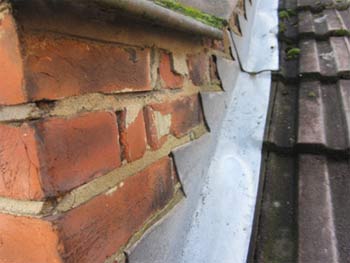
How To Install Lead Flashing On A Pitched Roof

Pitched Roof Insulation Lead Flashing

Your Lead Flashing Questions Answered Jj Roofing Supplies
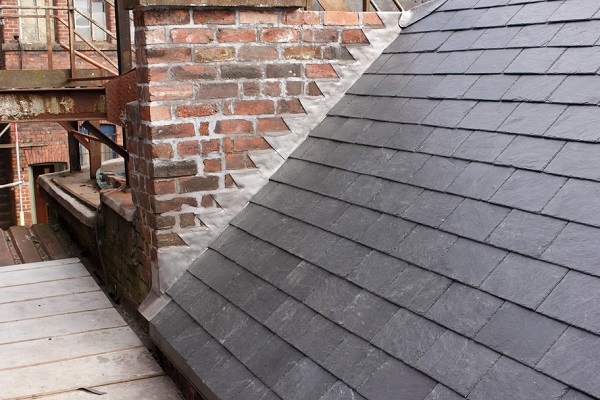
Brick Slips Installation Roof Lead Flashing Details

Calder Lead Apron Flashing Youtube

Everything You Need To Know About Lead Alternatives To Lead Flashing Roofing Superstore Blog
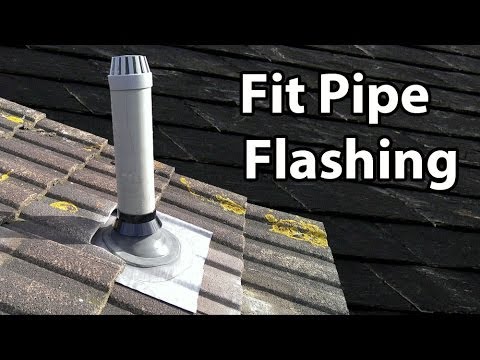
How To Install A Soil Pipe Flashing Fit A Lead Slate Youtube

Begin by removing the shingles at the affected area and removing old flashing if present.
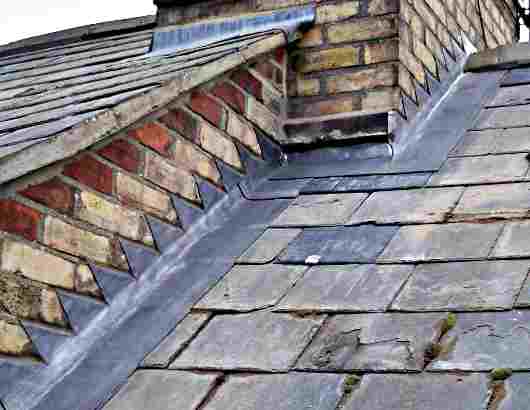
How to install lead flashing on a pitched roof.

Lead Flashings Youtube

What Code Lead Flashing Do I Need For My Roofing Job Roofinglines
Flashing In Building Construction Designing Buildings Wiki
Mastering Roof Inspections Flashing Part 2 Internachi
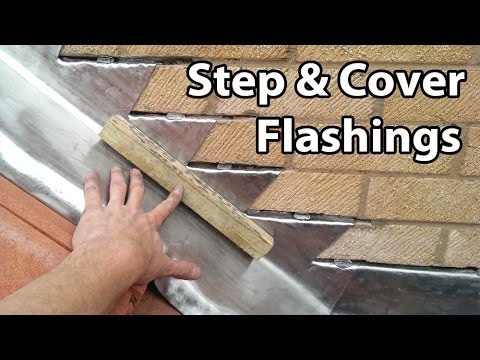
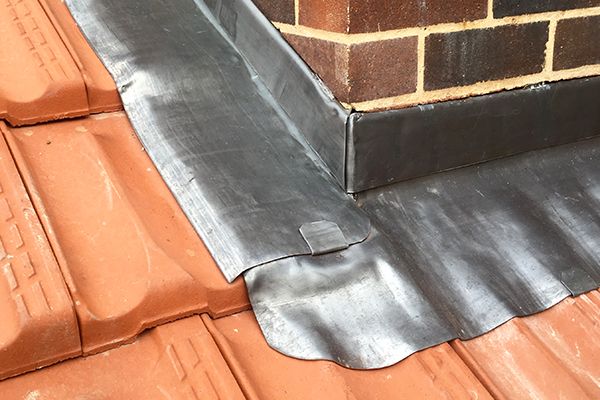
How To Install Step And Cover Flashing For Roof Tiles And Chimney Flashings Youtube

A Guide To Lead Alternative Roof Flashings Burton Roofing
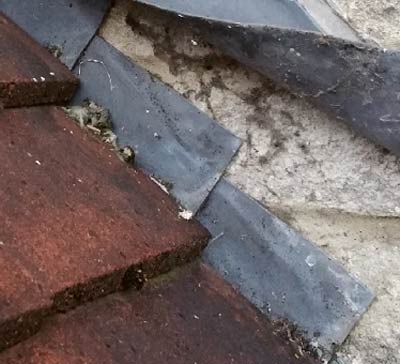
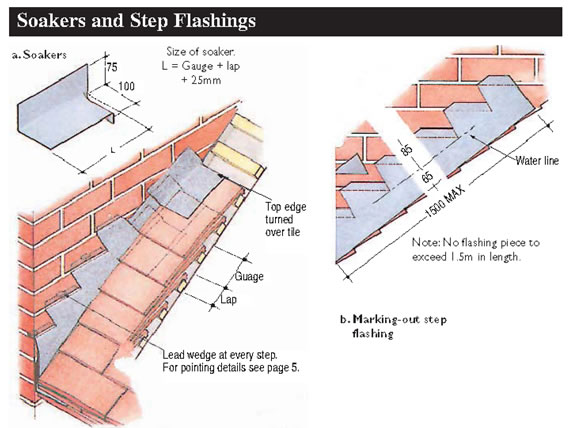
Brick Slips Installation Lead Flashings And Soakers
Everything You Need To Know About Lead In Roofing Burton Roofing
Roofing How To Projects And Tutorials Diy Doctor
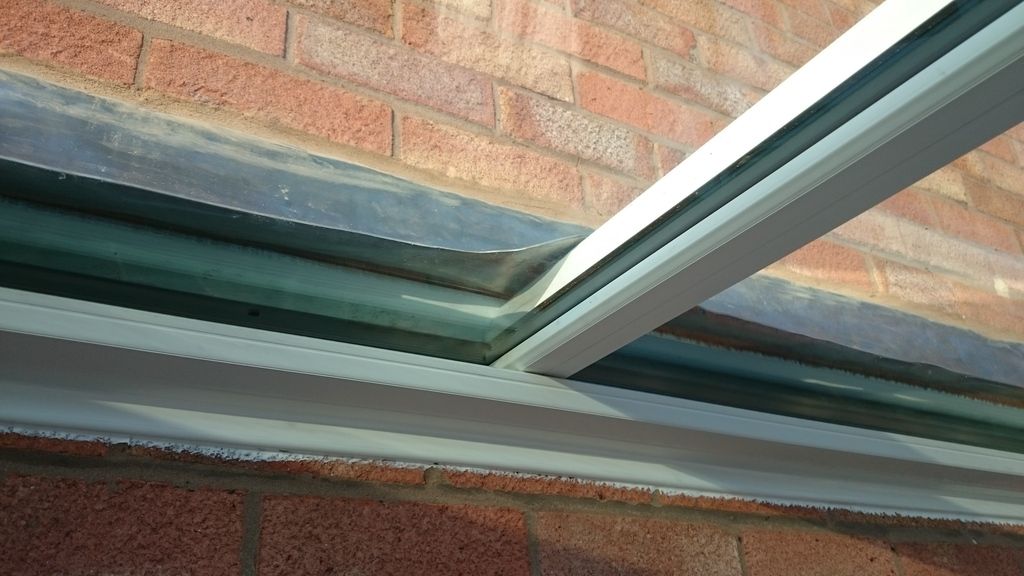
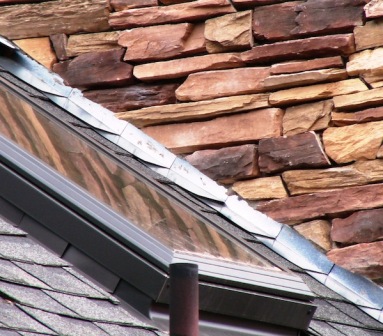
Pitched Roof Insulation Conservatory Lead Flashing

Roofing Material Guides The Benefits Of Lead Flashing For Your Roof
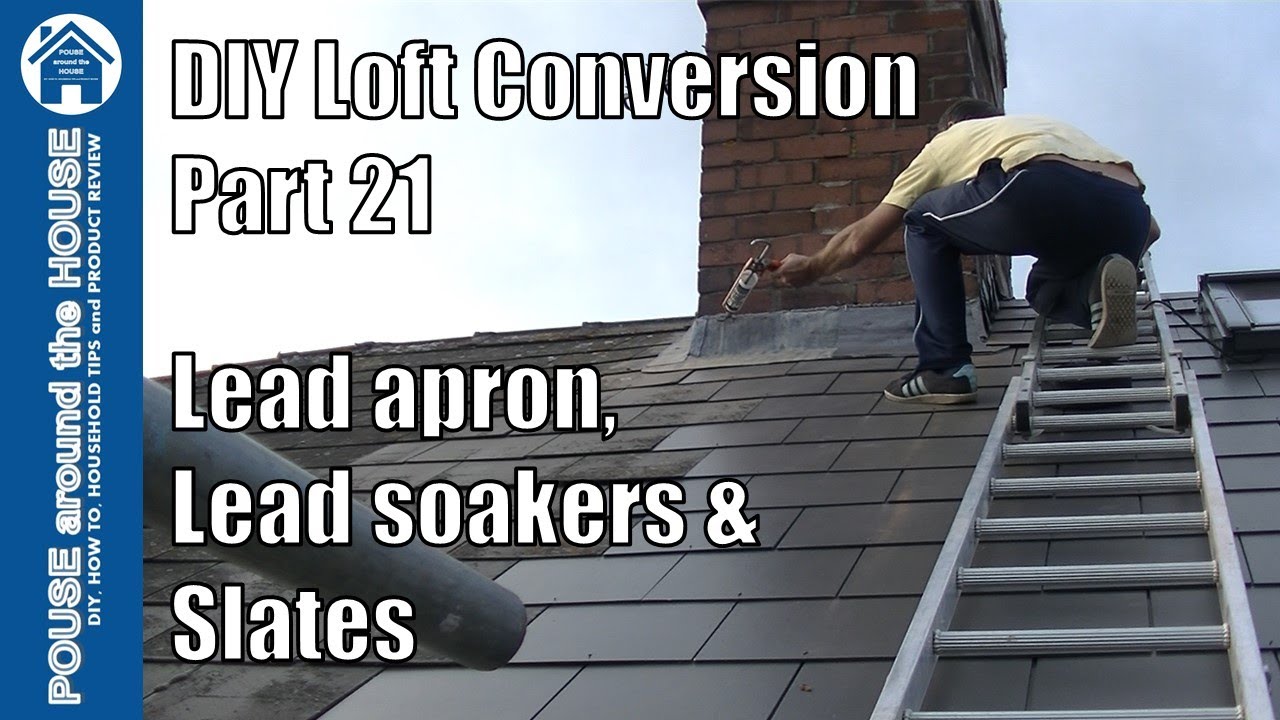
Loft Conversion Part 21 Lead Apron Lead Flashing Lead Sealant Slating The Hip Roof Youtube

How To Fit Lead Soakers Lead Soakers For A Wall Or Chimney Stacks Youtube Slate Roof Roof Roof Plan
Pitched Roof Insulation Lead Roof Tiles
Lead Roofing Sydney Lead Flashing Lead Gutters

How To Install Lead Soakers Roofing Megastore Youtube

Copper Roofing Contractors Midsouth Construction Copper Roof Architecture Exterior Roofing

Pin On Construction
Https Encrypted Tbn0 Gstatic Com Images Q Tbn 3aand9gct Ktmbmpd0xsynqhnwyuf4ozfu9h6vfjead0ejy1pe3orv7ael Usqp Cau

Cricket And Stepflashing Masonry Chimney On Shingle Roof Stroitelstvo Doma Dom Proekty Nebolshih Domov

Springfield Roof Flashing Installation Central Nj Roofer

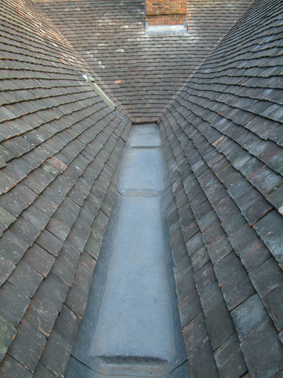
Step And Cover Flashings And Secret Gutters The Lead Sheet Association New Home Construction Home Construction Building Renovation

How To Do A Small Pitched Roof Pergola Patio Roof Curved Pergola

Pin On Door Awning
Source : pinterest.com
