How To Make A Mitered Corner For A Wall Hanging

Help Mitered Corners For Borders Sewing Mitered Corners Sewing Hacks Sewing Fabric

Patchworkpottery Corner Pocket Tutorial Hanging Quilts Wall Quilts Quilt Hangers

Sew Easy Mitered Corners 90 Degree Angle Like The Self Binding Baby Quilt Receiving Blanket Very Helpful Sewing Mitered Corners Quilt Corners Easy Sewing

How To Make Faux Mitered Corners Sew4home Sewing Techniques Sewing Mitered Corners Trendy Sewing

Faux Shell Wall Hanging Country Chic Cottage Wall Hanging Beach Wall Art

P1130641 Sewing Hacks Sewing Design Sewing Essentials

Learn how to sew beautiful corners with this easy mitered corners tutorial.
How to make a mitered corner for a wall hanging.

Pin By Jessica Jaycox On Crafty Crafty Diy Canvas Art Diy Canvas Fabric Wall Art

How To Miter Corners If You Want To Hide The End Grain Of A Board A Miter Joint Is The Joint Diy Picture Frames Making Picture Frames Homemade Picture Frames

Corner Pocket Tutorial Using Corner Pockets Is My Favourite Method Of Hanging A Mini Quilt Or Wall Hanging Besides H Hanging Quilts Wall Quilts Quilt Hangers

How To Make Diy Picture Frames With A Miter Box In 2020 Diy Picture Frames Making Picture Frames Diy Picture

How To Sew A Mitered Corner Mitered Sewing Felt Quiet Books

How To Sew Mitered Corners Sewing Mitered Corners Sewing Learn To Sew

Double Duty Tv Shelf Clamp Rack Diy Corner Shelf Corner Tv Shelves Corner Wall Shelves

Quilted Hollyhock Wall Hanging Quilted Wall Hangings Custom Quilts Quilt Batting

Hang In There How To Make A Reversible Diy Wood Wall Hanging Diy Wood Wall Wood Wall Hanging Diy Wood Wall Hanging

Architecture Of A Mom Easy Wood Frame For Large Format Art Diy Picture Frames Large Format Art Framed Maps

Sew Easy Handmade Mitered Corners Napkins Corners Easy Handmade Machinequilting Mit In 2020 Beginner Sewing Projects Easy Easy Sewing Simple Sewing Tutorial

Make This Wonderfully Geometric Quilt With Only One Major Difficulty Mitred Corners And Mitred Binding To Bring Out Th Geometric Quilt Quilts Fabric Scraps

Mitered Quilt Borders A Sewing Step By Step Tutorial Quilt Corners Quilts Quilt Binding

Wall Mounted Corner Shelf For Bathroom Or Any Other Room Free Etsy Home Diy Wall Mounted Corner Shelves Diy Corner Shelf

Corner Mount Your Tv On The Wall For Less Than 50 Bucks Diy Diy Tv Mounting Wall Mounted Tv Mounted Tv

Usa Flag Quilted Wall Hanging With Hanging Pocket Quilted Quilted Wall Hangings Flag Quilt Fabric Flags

Bella Bama Diy Minky Baby Blanket With Satin Or Ruffle Trim Baby Sewing Minky Blanket Diy Cute Sewing Projects

Wall After Wall After Wall Mitered Corner Trim For The Win Link In Stories On Website Stick On Wood Wall Diy Reclaimed Wood Wall Flooring On Walls
Https Encrypted Tbn0 Gstatic Com Images Q Tbn 3aand9gcqj6ot6wouzcwv65ldzq4bg4r4pwxli9tc5nkhhhnu Usqp Cau
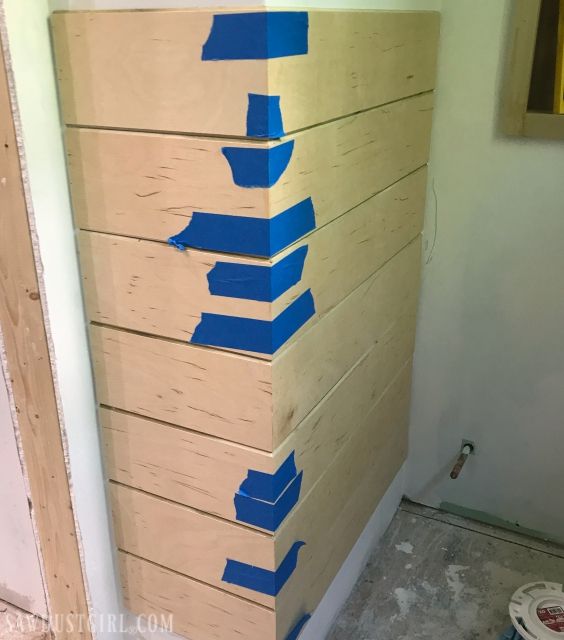
Plywood Plank Walls Creating V Groove Planks Plank Walls Diy Wall Shelves Installing Shiplap

Pin On The Power Tool Website

Quilted Wall Hanging With Patchwork Houses Flowers Large Rectangle 47 X 36 Inch Quilted Wall Hangings Wall Hanging Homemade Quilts

How To Shiplap Shiplap Ship Lap Walls Farmhouse Remodel

Your Place To Buy And Sell All Things Handmade Quilted Wall Hangings Halloween Quilts Wall Quilts
Source : pinterest.com
